1. Raise Vehicle on lift or jack stands.
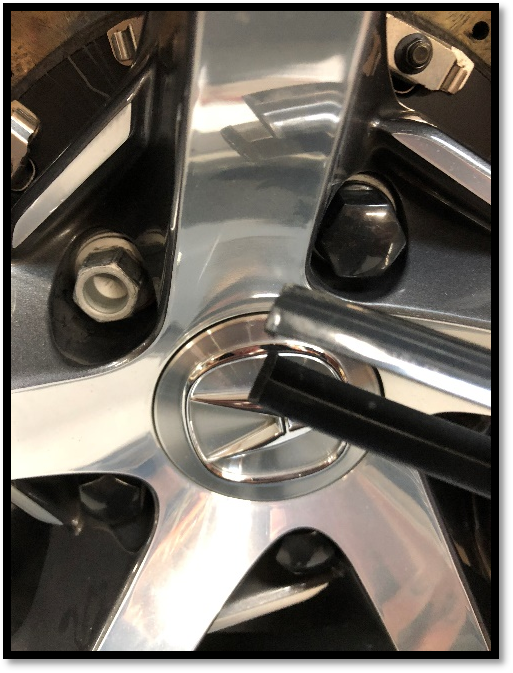
2. Remove rear wheels. Note: Lug bolts have cosmetic covers. Special tool supplied with vehicle tool kit located in trunk.

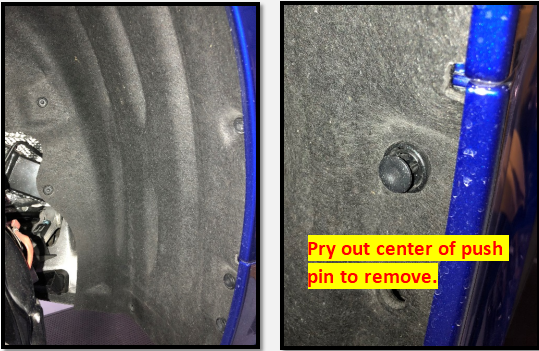
3. Remove fender liners.

4. Remove cooling duct. (x2) 10mm fasteners along bottom first. Snap fit on top.

5. Remove heat shield. (x4) 10mm fasteners from back side. Lower two bolt holes are slotted. Bolts don’t need to be fully removed.

6. Remove primary oxygen sensors.
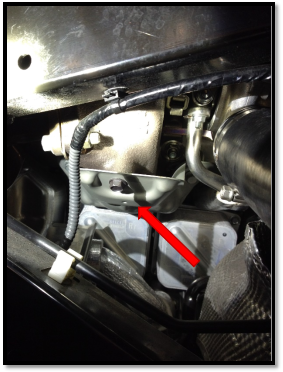
7. Remove support brackets. (x2) fasteners.
8. Remove turbo heat shields. (x4) bolts.

9. Remove lower turbo heat shields. (x3) bolts.

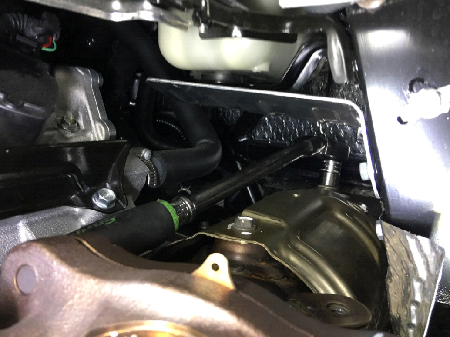
10. Remove converter to turbo flange fasteners (4). Tip: Loosening these while the turbo still has heat soak in it, as well as soaking fasteners in penetrating oil greatly reduces chances of a broken fastener. Pay special attention to the turbo wastegate linkage to prevent damage.
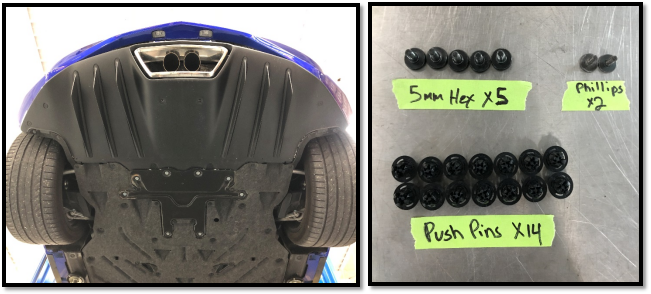
11. Remove rear diffuser hardware.

12. Reach through wheel wells to pop clips holding rear diffuser to bumper. Starting at one side work your way across while another person pulls diffuser away from bumper.

13. Remove diffuser support bar.

14. Unplug exhaust valve harness from back of transmission. Leave intact on muffler.
15. Separate muffler from converter flange by removing (3) nuts on each side.
16. Remove muffler section from vehicle by separating the (4) exhaust hanger grommets.
17. Remove secondary oxygen sensors from converter pipes.
18. Remove converter pipe support brackets from both converters and the transmission. This is tricky. Simplest way is through the wheel wells blindly for converter side. From the back of vehicle for transmission side. Removing covers from engine bay looking down does not simplify.

19. Slip converters out from rear of vehicle.
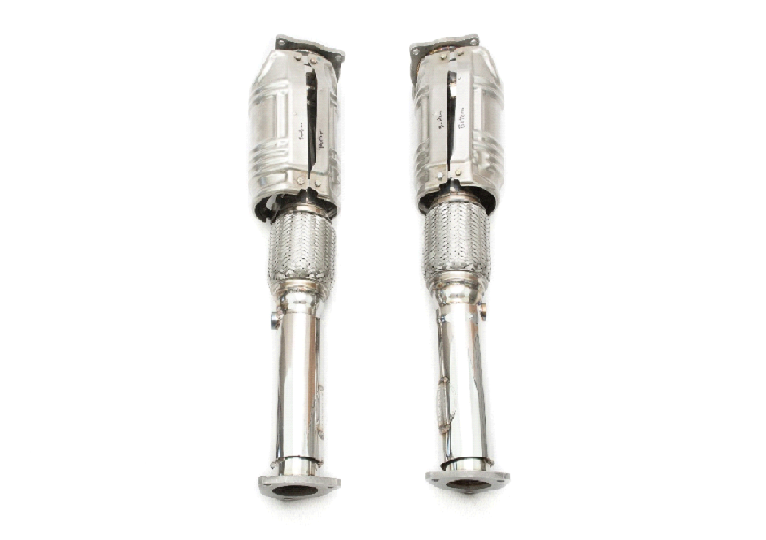
20. Transfer heat shielding to Fabspeed pipes. Take note of bolt lengths. Verify shielding is tight and bolts have not bottomed out on piping to avoid rattles. Tolerances are tight. Start all hardware by hand before fully tightening with wrench.
21. Installing Fabspeed Sport Cats into vehicle is made easiest by having an assistant. Right side is very tight going in. It will take a lot of rotating and pushing until you get it right. It will rub against the body heat shielding in the process. This can be straightened out after. Fabspeed uses the largest HJS high flow converter possible for maximized flow, power, sound, and no check engine light requiring this tight fit.
22. Apply high temp copper anti seize to all threads and oxygen sensor bungs.
23. Start converter support bracket bolts before tightening turbo flange hardware. Torque flange hardware first, support brackets second.
24. Follow steps 1-17 in reverse order for reassembly.
If you have any questions, comments, or concerns related to your product, please contact us!
Email: support@fabspeed.com
Call: 215-646-4945